




 English
 Español
 عربى
عربىHow to Load Test a Generator: A Complete Step-by-Step Guide for Facilities
Sep 09, 2026
Content
Load testing is the only way to know whether a diesel generator will actually carry the load it is rated for. Many facilities run their generators under no load once a month and assume they are ready for an outage. In reality, a no-load run does not raise exhaust temperatures enough to burn off carbon deposits, and it never stresses the alternator, voltage regulator, or cooling system. The result: a generator can appear healthy until the day it must power critical loads, then fail in the first hour. This guide explains how to load test a generator safely and systematically, what to record, and how to use the results to improve reliability.
What Is a Generator Load Test?
A generator load test connects a load bank to the generator output and applies a controlled electrical load. The load bank dissipates the generated energy as heat, which lets you test the engine and alternator under realistic operating conditions without feeding power into the building. Load banks are usually portable units with resistive or reactive elements. Resistive banks test real power output; reactive banks add an inductive load to verify voltage regulation and alternator performance under lagging power factor.
The test is usually performed in steps of 25%, 50%, 75%, and 100% of the generator’s nameplate rating. Each step is held long enough for temperatures and pressures to stabilize. If you have not already confirmed that the generator is correctly sized for the connected loads, review our step-by-step sizing guide before you begin load testing. An undersized generator cannot be made reliable by more frequent testing.
Why Load Testing Is Critical
An unloaded or lightly loaded diesel engine runs below its designed operating temperature. Over time, unburnt fuel and oil collect in the exhaust system, a condition commonly called wet stacking. It reduces engine efficiency and can eventually lead to misfiring or turbocharger damage. A load test helps expose problems that do not appear during no-load runs:
- Fuel system faults, including clogged filters or weak transfer pumps
- Cooling system leaks or blocked radiators
- Voltage regulator instability
- Alternator winding issues
- Oil pressure anomalies under heat
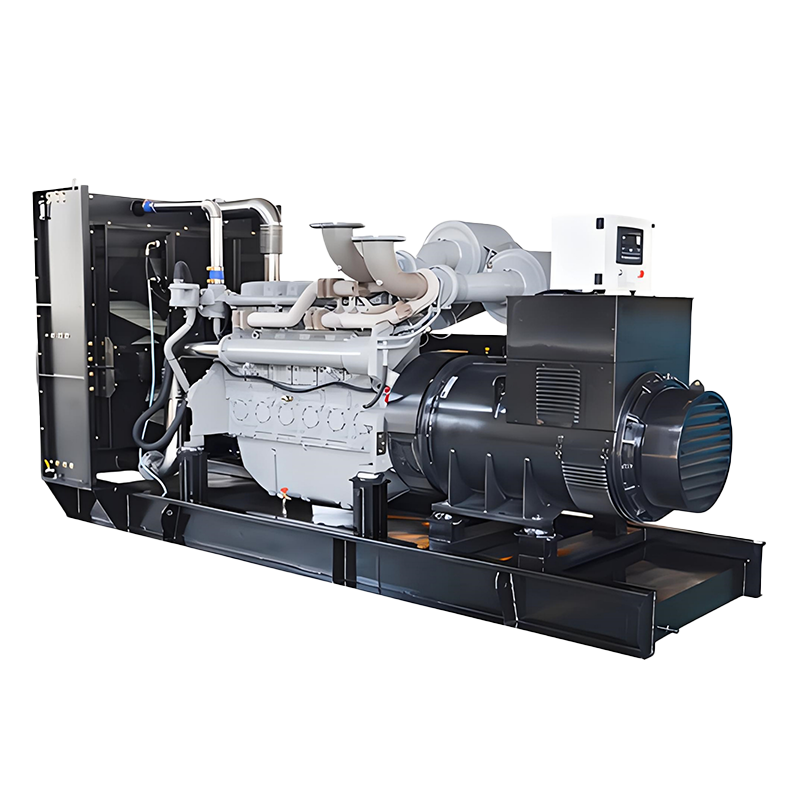
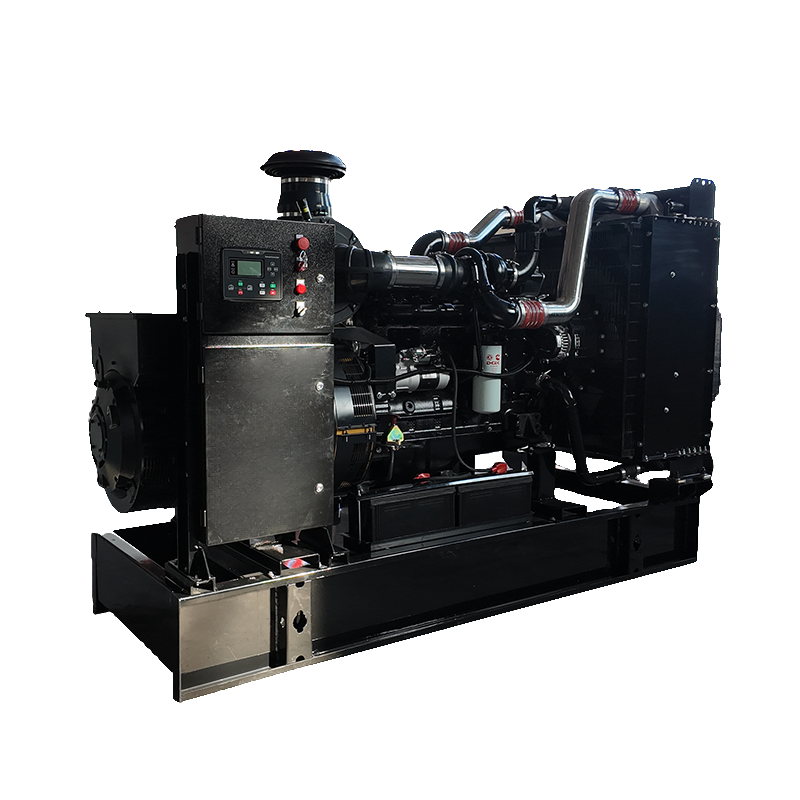
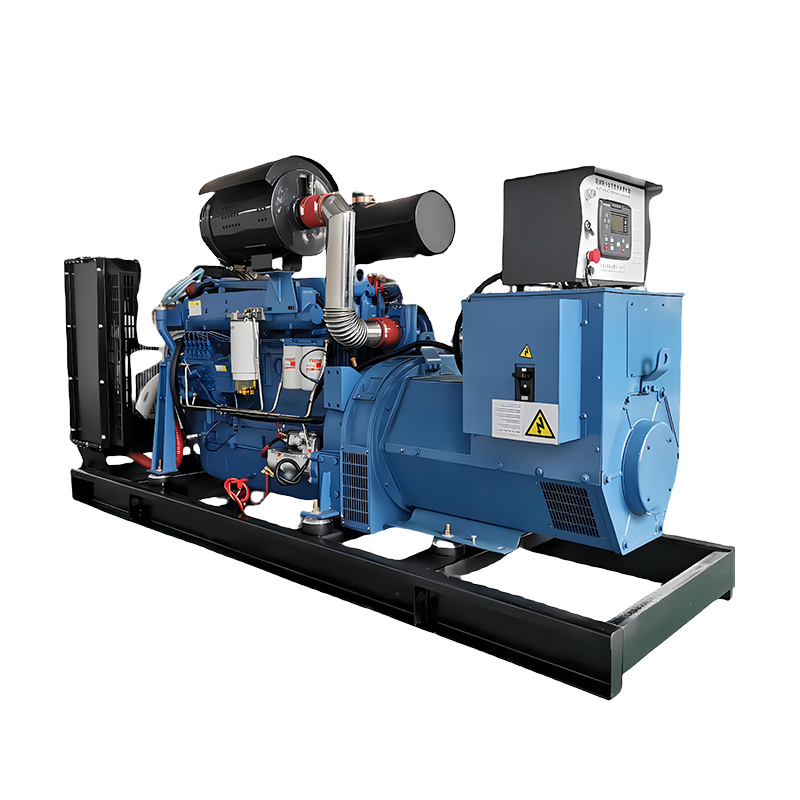
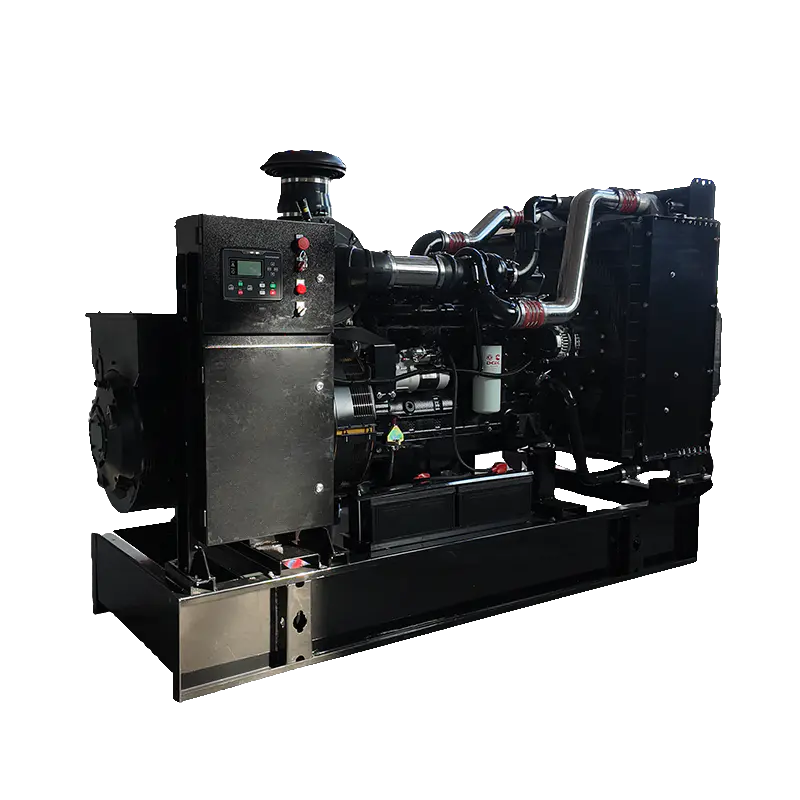
In regulated environments, load testing is more than best practice: NFPA 110, for example, requires periodic load testing for emergency power systems. Hospitals, data centers, and industrial plants often incorporate annual load tests into their maintenance programs. Factory load tests are also part of quality control for new generator sets. An open-frame layout simplifies connection of a temporary load bank and allows direct access to all service points.
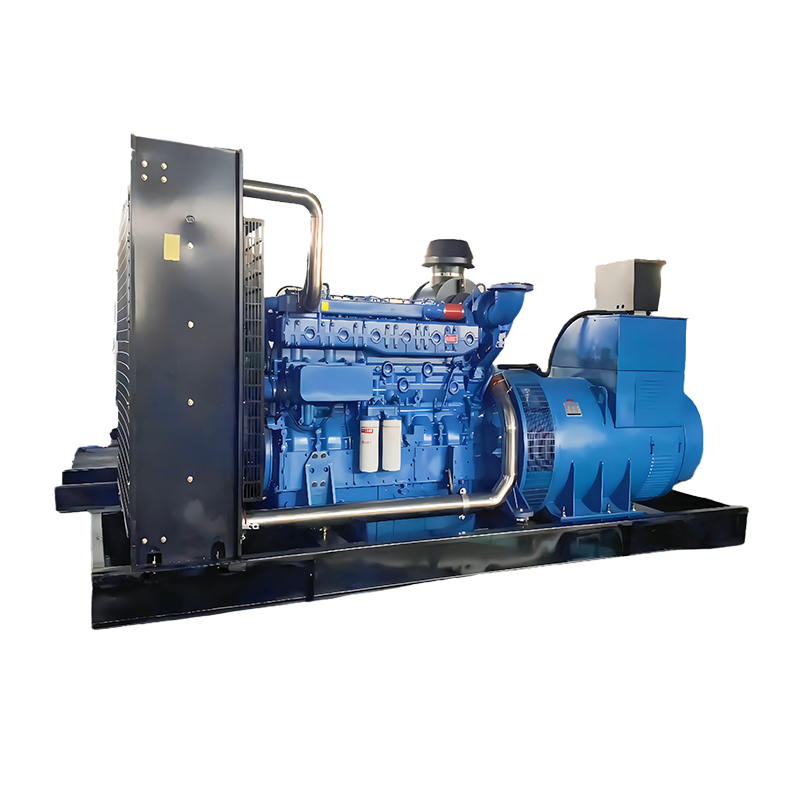 Open Frame Diesel Generator Sets for Easy Load TestingThis open-frame generator set simplifies load bank connections and service access, making it a practical choice for facilities that conduct regular load tests and require straightforward maintenance.View Product →
How Often Should You Load Test a Generator?
Frequency depends on how critical the application is. For general commercial backup use, an annual load test is a sensible minimum. For life-safety or mission-critical systems, quarterly or semi-annual testing is more common. In addition, test after any major repair, after long periods of inactivity, and whenever the generator has failed to carry its rated load. For NFPA 110-compliant installations, follow the specific schedule in the standard; the table below is a general reference.
| Test Type | When to Perform | Purpose |
|---|---|---|
| Monthly no-load run | Monthly | Confirm the engine starts and reaches normal operating status |
| Annual load test | At least once a year | Verify full system output under controlled load |
| Post-repair load test | After major engine, cooling, or alternator work | Confirm the repair restored performance |
| Post-event test | After a real outage or transfer event | Verify the automatic transfer switch and generator worked together |
Step-by-Step: How to Load Test a Generator
Perform the test in a controlled sequence. Here is the procedure we recommend for industrial and commercial generator sets.
- Pre-test inspection. Check oil level, coolant level, fuel supply, battery voltage and connections, belts, hoses, air filters, and control wiring. Confirm the fuel reserve is large enough to support the test at full load. For a typical 60-minute full-load test, estimate fuel consumption from the generator’s specific fuel consumption data.
- Confirm load bank compatibility. Verify that the load bank can handle the generator’s rated voltage and current. Check the cable connectors, phase configuration, and grounding. Use only cables with sufficient ampacity and no visible damage.
- Connect the load bank. Shut down the generator if it is running, lock out the output breaker, and connect the load bank to the generator terminals or distribution bus. Ensure the connection is tight and the load bank is ventilated.
- Start the generator and stabilize. Start the generator with no load attached and let it reach normal operating temperature and oil pressure. Record the no-load readings as a baseline.
- Apply the load in increments. Increase the load in 25% steps, waiting at each step for all parameters to stabilize before adding more. Hold the generator at 100% load for the required test duration, typically 30 to 60 minutes. If at any point the generator goes beyond its rated limits, reduce the load instead of forcing a pass.
- Monitor and record. At each step, record voltage, current, frequency, oil pressure, coolant temperature, fuel pressure, and exhaust temperature. Also note the load bank’s kW and kVA readings so you can compare them with the generator’s control panel display.
- Remove the load. Drop the load bank back to zero in reverse steps, then let the generator run at no load for a five to ten minute cool-down period before shutting down.
- Post-test inspection. After shutdown, inspect for oil leaks, coolant leaks, loose connections, and signs of overheating. Check rubber components for heat damage.
- Review and document. Compare the recorded readings with the generator’s specifications and with previous test results. Prepare a test report that includes the test date, load profile, readings, ambient conditions, and any corrective actions taken.
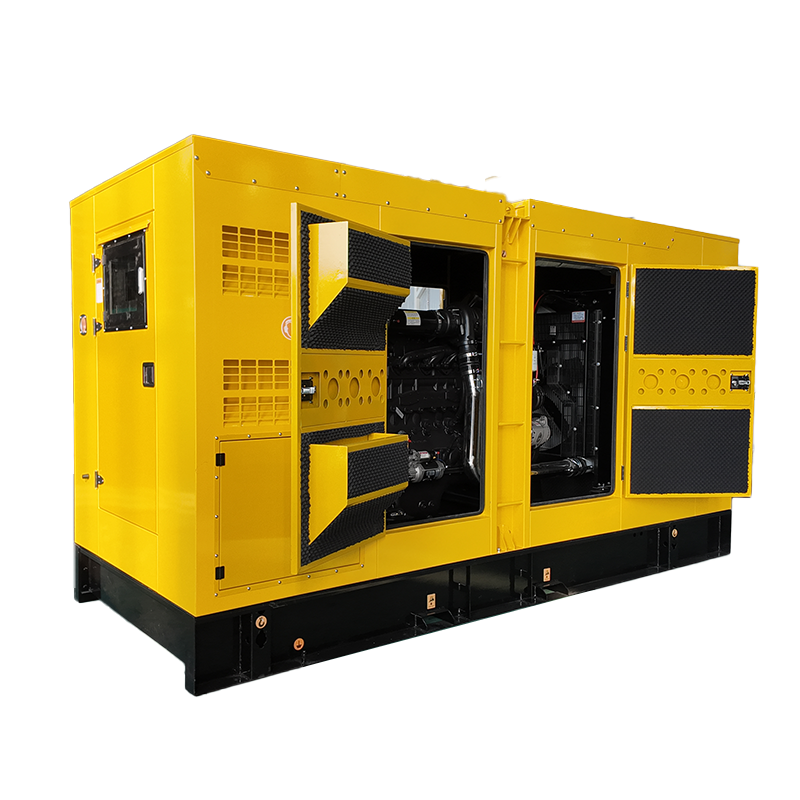
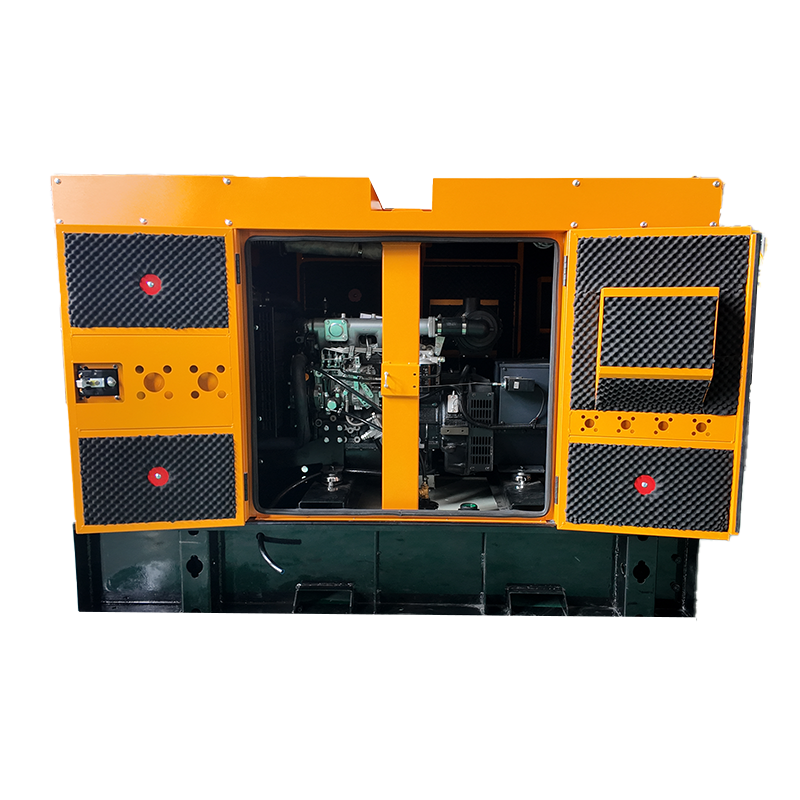
If your generator is housed in a sound-attenuated enclosure, the procedure is the same, but allow extra time for heat to dissipate before opening panels. Our silent-type diesel generator sets are built with service doors that make pre-test inspections and load bank connections easier in restricted spaces.
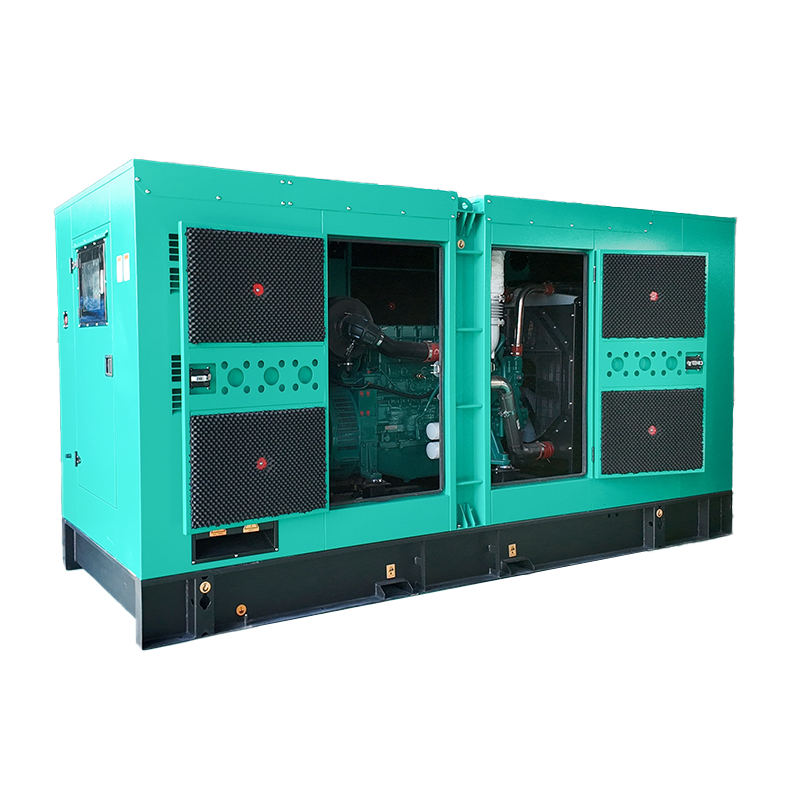 Silent Type Diesel Generator Sets with Service DoorsDesigned for noise-sensitive environments, this silent-type generator set includes service doors for easier pre-test inspections and load bank connections, supporting efficient load testing in restricted spaces.View Product →
What to Monitor During a Load Test
Record readings at each load step. These are the core parameters that tell you whether the generator is healthy. Always compare readings with the manufacturer’s values for your specific engine; a load test is meant to identify deviations, not just produce a pass/fail result.
| Parameter | Normal Range / Guideline | Why It Matters |
|---|---|---|
| Voltage | Within ±5% of rated voltage | ATS and sensitive equipment need stable voltage |
| Frequency | 60 Hz ±0.5 Hz, or 50 Hz ±0.5 Hz | Large swings indicate governor or mechanical problems |
| Oil pressure | Per engine manufacturer spec | Low pressure at temperature is a serious warning |
| Coolant temperature | Below the engine maximum | Overheating shows cooling capacity issues |
| Fuel pressure | Steady within spec | Dropping pressure points to filter or pump problems |
| Exhaust temperature | Consistent across cylinders | Wide spread suggests injector or valve problems |
Common Load Test Failures and How to Interpret Them
No generator owner wants a failure during an outage, but a controlled load test is the ideal place to discover one. If you see any of the conditions below, stop the test, let the generator cool, and correct the root cause before running it again. A failed load test is not a permanent defect; it is a safe early warning.
| Symptom | Likely Cause | What to Check |
|---|---|---|
| Voltage falls when load is added | AVR or excitation fault | Check AVR settings, brushes, and excitation wiring |
| Frequency dips sharply | Governor or fuel delivery problem | Check governor calibration, fuel filters, and fuel pressure |
| Coolant temperature rises above spec | Cooling system capacity problem | Inspect radiator fins, coolant level, fan belt, and thermostat |
| Oil pressure drops at full load | Engine lubrication problem | Check oil level, oil viscosity, oil pump, and bearings |
| Black or excessive exhaust smoke | Incomplete combustion or overloading | Check air filter, injectors, and load percentage |
For high-capacity installations, containerized generators often require a larger load bank and three-phase connection arrangements. When you test a container-type unit, verify the distribution panel rating and cable sizes before applying full load.
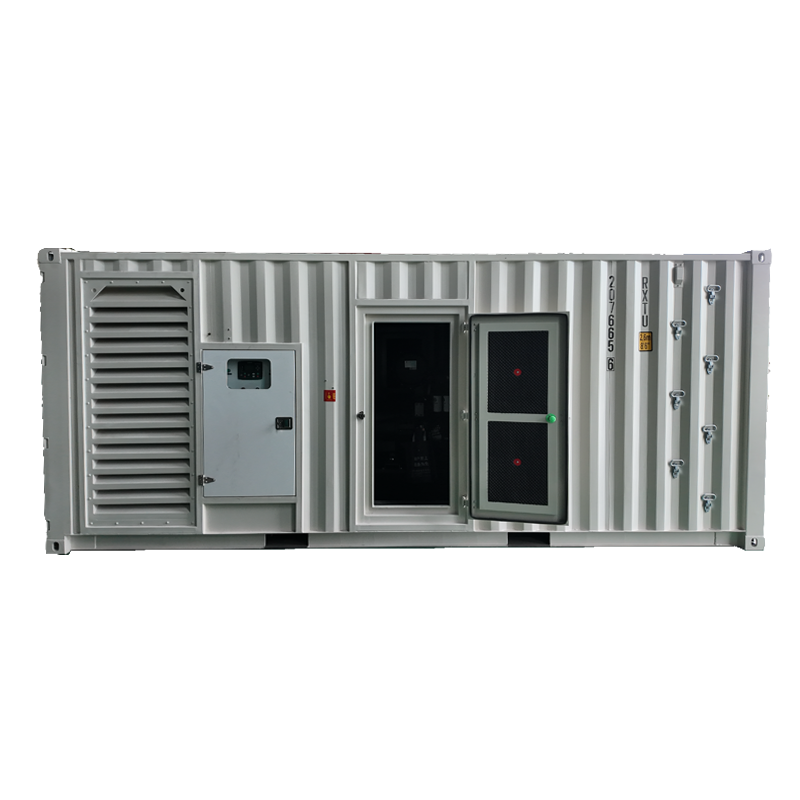 Container Type Diesel Generator Sets for High-Capacity TestingFor high-capacity installations, this containerized generator integrates the power system in a sturdy enclosure, but requires larger load banks and three-phase connections during load testing.View Product →
Load testing is a core part of owning a diesel generator. When done regularly, it gives you a documented record of performance, catches small problems early, and gives stakeholders confidence that power will be available when needed. If you are selecting a generator for your facility, start with the right configuration for your site requirements, and make sure your test plan is part of the maintenance schedule from day one. For an overview of the available configurations, visit our homepage.
Related Products

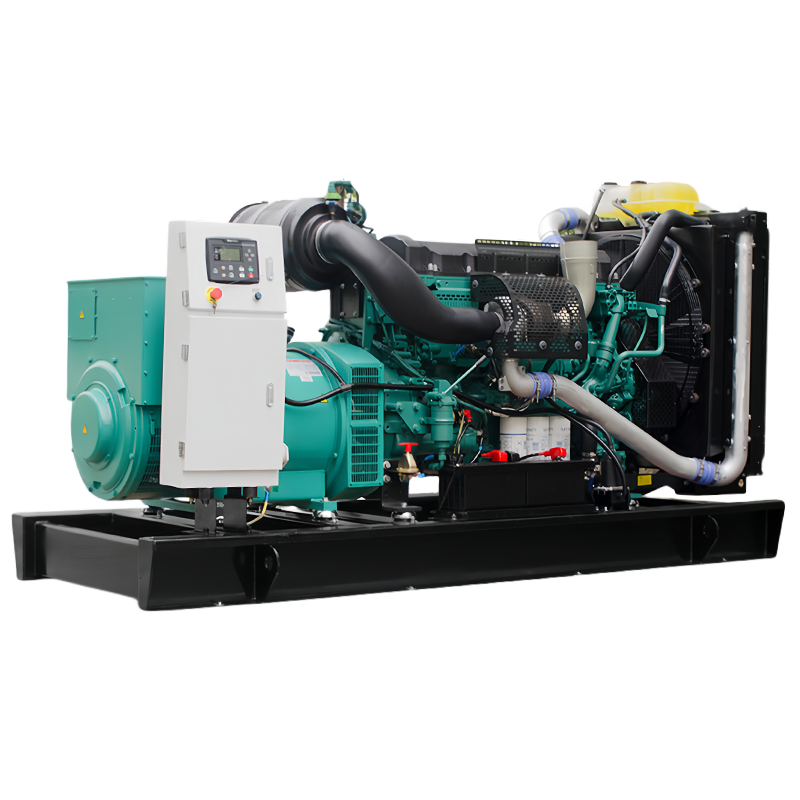
Related News

-
Xiaoji Town, Jiangdu District, Yangzhou City, Jiangsu Province, China
-
8618944498005
-
+86-18652407919
-
+86-0514-86593686
Copyright © Jiangsu Ford Generator Co., Ltd.
